How to use Zoom? FREE video conferencing
Step 2: Solutions
Step 3: Plans and Pricing
Step 4: Modern Cloud Phone Solution
Step 5: Software-based Conference Room Solution
Step 6: Contact Sales
Step 7: Join a Meeting
Step 8: Host a Meeting
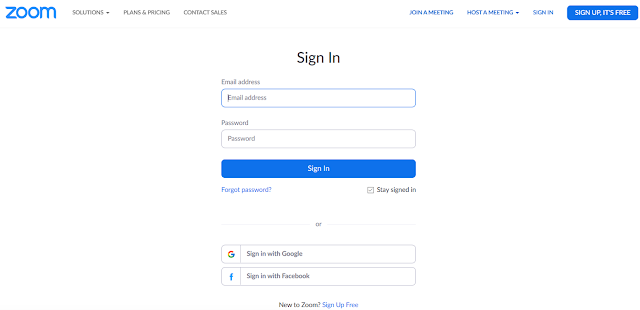
Step 9: Sign In
 |
| Sign in |
Step 10: Sign up
Step 11: Activate Account
Step 12: Welcome Zoom
Step 13: Schedule a new meeting
Step 14: New Meeting
Step 15: Zoom work in Plugin
Step 16: Check Mic/Audio
Step 17: Menu Bar (Mute, Stop the video, Invite, Manage Participants, Share screen, Chat, Pause/Stop Recording and Reactions)
Step 18: Virtual Background
Step 19: Choose your email service to send an invitation
Step 20: Group Photos (invited students to join the meeting)
Step 22: Share Screen
Step 23: Zoom Group Chat
Step 24: Recording pause
Step 25: Reactions
Step 26: End Meeting for all
Step 27: Congratulations on hosting your first Zoom Meeting!
Step 28: Convert Meeting Recording
Step 29: Browse for a folder, files to be saved.
Step 30: Join Next Meeting
•When
you land on the website zoomed, you do have to sign up and create an account.
•Student
no need an account, just
a
link than Students
are
able to join the webinar.
Once
you do create an account
•Join
meeting (have the app)
How
to sign in:
•Use
Google or Facebook signing with your work email or personal email.
•Activate
your account
Pay attention!!
If
you’ve never run ZOOM before, its gonna ask you to download zoom now
•If
nothing prompts from browser, download & run Zoom.
•Download
and run ZOOM. (download it as a package to a computer again.)Install it.
Host a video
•That’s
the person that’s actually setting up the zoom
•Participants
aren’t (Student)
•If
you’ve got 10, 15 to 20 or more students in the class
•If
everyone got their webcams on, slow down the quality of the ZOOM
•Can
turn ON later, start with video off
THE END


